
In Part 1, we worked through what my friend already owned, talked about her philosophy of use, and eventually found a firearm that fit her well for the role she wanted it to fill. Once the new PCC finally arrived, the next step was not to head straight to the range.
First, she came over to the house.
The goal for this session was simple: get the firearm set up, make sure everything fit her properly, learn how it functioned, and remove as many unknowns as possible before introducing live ammunition.
There is a lot going on the first time someone handles a new firearm. New controls, new terminology, new movements, and eventually range commands and live fire. Trying to learn all of that at once is unnecessary.
So we slowed everything down.
The Parts Bin
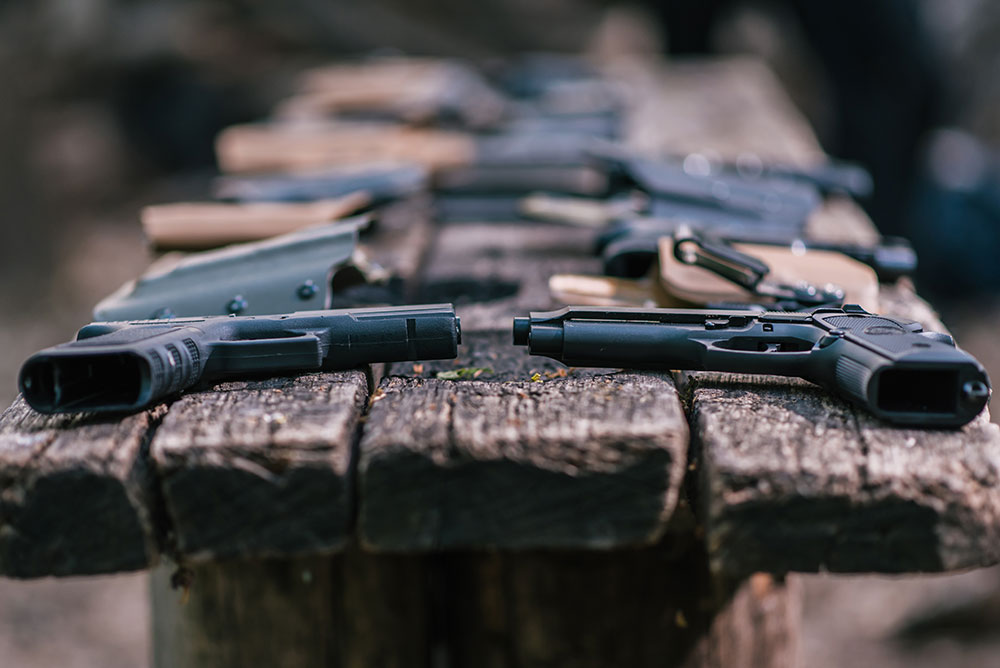
Like most firearms enthusiasts, there is always a bin or two somewhere containing extra parts, optics, mounts, lights, slings, and miscellaneous pieces left over from other projects.
This is where keeping all that stuff suddenly starts looking less like hoarding.
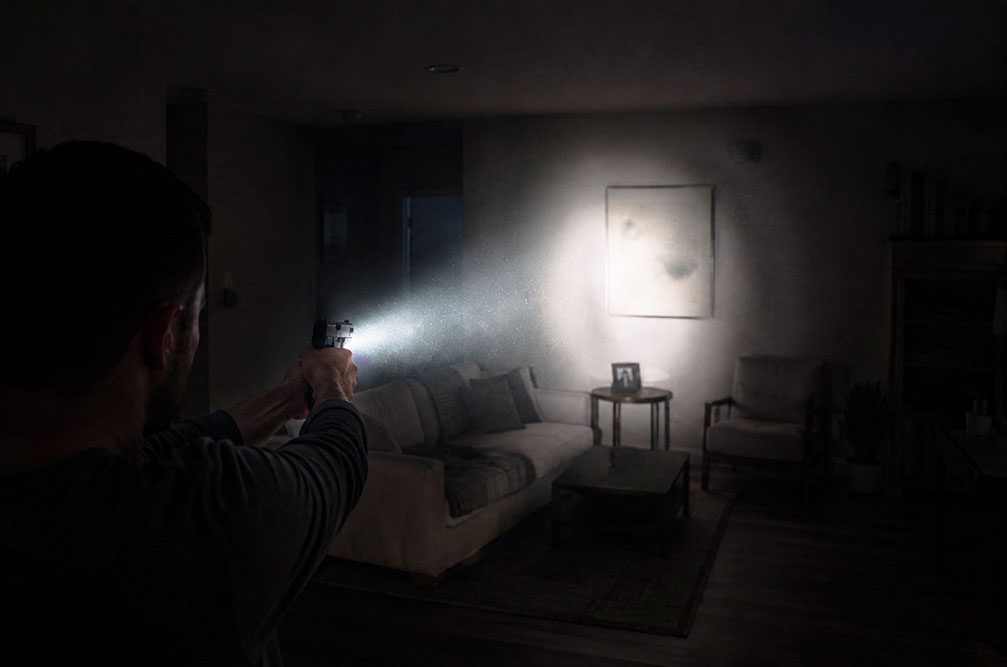
Instead of immediately buying a pile of new accessories, we scavenged a red dot optic from another rifle she already owned. I had an extra light available, and she had purchased a single-point sling.
I am going to save the sling discussion for another article because slings deserve their own conversation.
We mounted everything, adjusted the position of the equipment, and spent some time making sure the firearm actually fit her. That meant paying attention to where the optic sat, how the sling felt, whether the controls were comfortable to reach, and whether anything interfered with how she naturally held the firearm.
This is one of those areas where a few minutes of adjustment can make a huge difference.
The goal was not to make the firearm look cool.
Although, as established in Part 1, looking cool remains important.
The real goal was to make everything simple, comfortable, and repeatable.
Getting the Optic Close
Once the optic was mounted, we used a laser bore sight to get the red dot reasonably close before heading to the range.
A bore sight is not a substitute for actually zeroing the firearm with live ammunition. It is simply a way to get things in the neighborhood so the first shots at the range are more useful.
The real zero will happen during Part 3.
For now, we just wanted the firearm mechanically set up and ready to go.
Once everything looked good and felt good, we moved on to what I considered the most important part of the session.
What Condition Is the Firearm In?
Before presentation drills, trigger presses, or anything else, she needed to become comfortable determining the condition of the firearm.
Every single time.
Even when you are sure.
Especially when you are sure.
For this session, live ammunition was not part of the training. We used snap caps and inert training rounds instead.
I would change the condition of the firearm between repetitions. Sometimes there was an inert round in a magazine. Sometimes there was one in the chamber. Sometimes there was nothing.
Her job was not to guess.
Her job was to check.
Then check again.
We repeated the process over and over.
I stopped counting somewhere around 20 repetitions.
That might sound excessive, but repetition is exactly the point. I did not want her thinking about the process as some complicated sequence that she needed to remember. I wanted checking the firearm to start becoming automatic.
Pick it up, verify its condition.
Someone hands it to you, verify its condition.
You set it down and pick it back up, verify its condition.
It does not matter that you checked it thirty seconds ago.
Check it again.
Learning How the Firearm Works
Once she was comfortable determining the condition of the firearm, we moved into basic function.
Again, everything was done with inert ammunition.
We covered the controls, magazines, how the action worked, and what she should expect when manipulating the firearm.
The important part here was not speed.
It was understanding.
There is a tendency, especially when someone is excited about a new firearm, to want to jump directly into shooting. But if the shooter is still thinking, “Which button does what?” then adding recoil, noise, live ammunition, and range commands does not make the learning process easier.
It makes it harder.
So we stayed at the house and worked through it slowly.
She loaded magazines with snap caps, manipulated the firearm, checked its condition, reset, and did it again.
And again.
And again.
Making It Familiar
By this point we had already been working for more than an hour.
That was intentional.
The goal was not to see how much material we could cram into one afternoon. The goal was to make the important things familiar enough that when we get to the range, they will not feel completely new.
Only after spending all that time on setup, condition checks, and basic function did we start working on presentation drills and trigger presses.
Even then, the focus remained on slow, deliberate repetition.
Nothing needed to be fast.
Nothing needed to look impressive.
Good habits first.
Speed can come later.
That is probably one of the biggest mistakes people make when learning anything involving a firearm. They see experienced shooters moving quickly and assume speed is the skill.
It is not.
Speed is generally the result of familiarity, efficiency, and repetition.
Trying to move fast before those things exist usually just means doing something poorly at a higher rate of speed.
Know When to Stop
After a while, I could tell she was getting tired.
That matters.
There is a point in any training session where more repetitions stop being productive. Attention starts wandering, movements get sloppy, and the student is no longer really absorbing what you are trying to teach.
We had already accomplished what we came there to do.
The firearm was set up.
The equipment fit her.
She understood the basic controls.
She had repeatedly practiced verifying the condition of the firearm.
She had worked through basic manipulation with inert ammunition.
And she had started working on presentation and trigger presses.
That was enough for one day.
So we stopped.
Homework
Before she left, I gave her a pile of snap caps and some homework.
Practice.
Practice.
Practice.
Nothing complicated.
The purpose was simply to continue building familiarity with the equipment and reinforce what we had already covered, using the same safe, unloaded practice environment we had established during the session.
A few focused repetitions on a regular basis are worth far more than one marathon practice session followed by three months of doing nothing.
The firearm should start feeling less like a new piece of equipment and more like something she understands.
That is exactly where I want her before we add live ammunition.
Preparation Before Performance
The entire point of Part 2 was preparation.
We could have mounted the optic, thrown some ammunition in a range bag, and gone shooting.
But then her first live-fire session would also have been the first time she was trying to remember the controls, the first time manipulating the firearm under pressure, the first time hearing range commands, and the first time trying to put everything together.
Why stack all of those problems on top of each other?
Instead, we separated them.
First, find the right firearm.
Then learn the firearm.
Then shoot the firearm.
It is a slower process, but I think it is a much better one.
What’s Next: Part 3
Next week we head to the range.
That is where we will finally zero the optic properly, introduce live fire, and start working through drills.
But the interesting part will not simply be whether she can hit the target.
I want to see how much of the work from this session carries over once recoil, noise, live ammunition, and range commands enter the picture.
Part 1 was about finding the right firearm.
Part 2 was about making the firearm familiar.
Part 3 is where we find out what all that preparation was worth.